Mecha Construction - Part 3
Applications: Rhinoceros 3D
The Legs (continued)
We will now build a kneecap surface for the leg. Figure.24 shows all the splines made to build the kneecap.
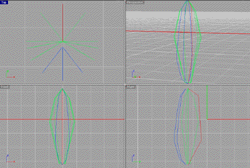
Figure.24
Each mirrored spline is the same color as its parent. Loft the set of polylines with a straight loft, and place it near the knee cap area as seen in Figure.25.
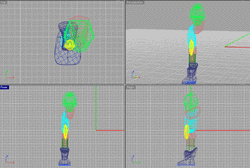
Figure.25
Now you have a completed boot and leg. Mirror the leg models over across the mid-line of the torso. In Figure.26, you see the mid-line.
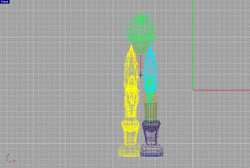
Figure.26
In Figure.27, you see the Vergos 10 Dig Grappler at this point in the project.
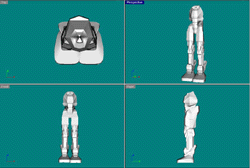
Figure.27
Shoulders and Arms
The shoulders and arms are next. We will use a few different methods of modeling on these parts. First we will work on the shoulders. We will model the shoulders by using a 2 rail sweep. In Figure.28 you will see three splines separated by color.
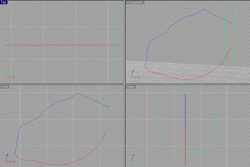
Figure.28
One of the is a closed spline, and two of them are open splines. The two open splines are the rail curves. Once these curves are drawn you will need to access the 2-rail sweep tool by using the Sweep2 command. Press Enter then select the 2 rail curves as it asks you to. Then select the closed spline and press Enter. This should bring up a dialog box as seen in Figure.29. This figure also shows the model that is produced.
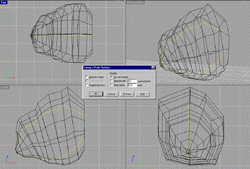
Figure.29
In Figure.30, you will see three splines. Two of which are the same. One is a closed spline (a polygon).
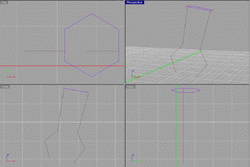
Figure.30
You will need to use 2-rail sweep to make this a surface. This is basically modeled the same way as the shoulders. Figure.31 shows the output and the settings used. This is the upper arm.
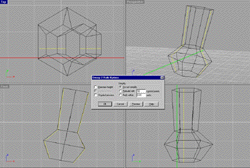
Figure.31
Figure.32 shows the beginning of the forearm. There are 3 splines. Use the same method as above.
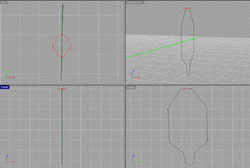
Figure.32
We will now model the grippers. This is the final set of models for the basic arms. In Figure.33, you can see four splines in two different colors. The splines in the same color are just copied over using the command Copy.
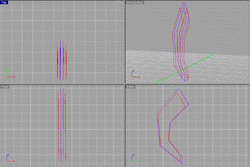
Figure.33
Now you must loft the splines in a open loft. Figure.34 shows the details. You have open ends on the surface now. You can fix this by selecting the outer spline and use the Patch command. You must do this one side at a time or it will not work. Using the patch command you keep both surfaces editable.
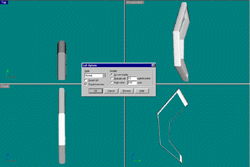
Figure.34
You can also use the Cap command on the surface to close all planar ends. Please be aware that if you use this command you will have to explode the object using the command Explode to edit the objects surfaces. You can now use Join to combine the surfaces, if you like. Next, you will need to Mirror the gripper over to make a claw-type look as seen in Figure 35.
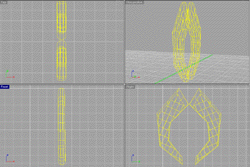
Figure.35
In Figure.36, you can see the Vergos 10 Dig Grappler as we have completed the previous steps. You can see the idea of a strong looking mech with a heavyset base. Now we must move onto the head and finish small details such as wires.
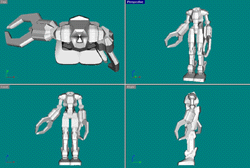
Figure.36
[ Next Page ]