Mecha Construction - Part 2
Applications: Rhinoceros 3D
The Legs
For the legs we will use the same method as before. Figure.10 shows the splines in different layers only to show the different polylines.
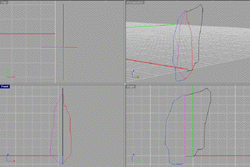
Figure.10
In Figure.11 you can see the mirrored splines. The splines with the same color are mirrors of the same spline.
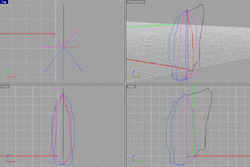
Figure.11
In Figure.12 you can se the output of the loft. The loft is the same as you have previously done.
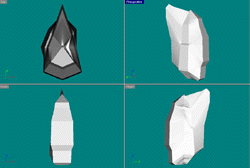
Figure.12
The calf is now our next part to model. This will be modeled just as the previous parts have been. Figure.13 shows the four polylines in different layers.
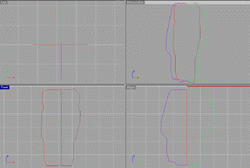
Figure.13
Figure 14 shows the mirrored curves in the same layers as their parent spline. Loft the curves, and then the calf is done. Use the previous settings.
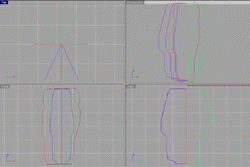
Figure.14
Next are the ankles of the mech. To model the ankles we will use the simplest type of loft. We will be using a polygon spline to loft with. Simply type Polygon into the command line and press Enter. At this point in the command line it will ask how may sides you want. For this project, we will use seven sides. Type in 7 then press enter and drag your polygonal spline out. After dragging out your polygon you will now copy it in a straight line. To do this, use the command Copy and press Shift as you drag your spline down. Figure.15 shows the polygons that we have used and copied. Now select both splines and type ShowCV into the command line.
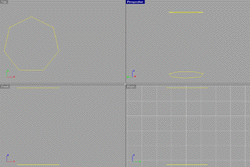
Figure.15
This will show all points, or CVs, that make up the splines. You can now edit the points by pulling them. In Figure.16, you can view our edited splines.
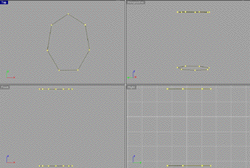
Figure.16
Now that you have completed the editing of the splines, you can now hide the points by using the command HideCV. Now loft by selecting both of your splines and type loft into the command line. Figure.17 shows the settings that have been used as well as the output of the loft.
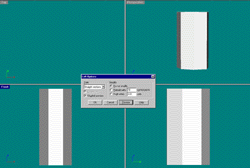
Figure.17
Lastly on the leg there is the foot or boot area. This is a heavily balanced area so we must make it big. Figure.18 shows the polylines drawn in various layers separating the different ones from mirrored ones.
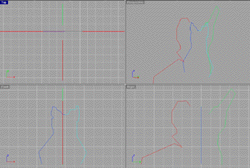
Figure.18
Figure.19 shows the mirrored splines with the originals.
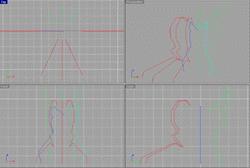
Figure.19
Figure.20 shows the loft dialog box for lofting the polylines for the boot. This is a different type of loft than the rest. This is a normal loft compared to a straight loft like we have been using.
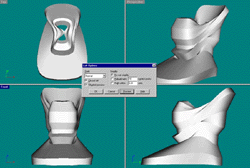
Figure.20
Now we must make the sole area of the boot. We will do this by extracting an edge of a surface using the DupEdge command. Figure.21 shows the edge that we have selected. If you used a straight loft you will not be able to duplicate an edge.
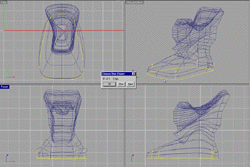
Figure.21
Copy the duplicated edge as seen in Figure 22. You can loft with the same properties as used in lofting the boot.
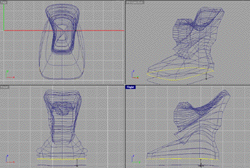
Figure.22
Now you have most of sole done, but you must finish one thing in the sole. There is still a hole on the bottom of the shoe. Select the bottom spline of the sole, and type Patch into the command line and press Enter. Figure.23 shows the patch properties that have been used in this tutorial.
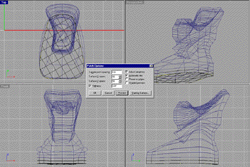
Figure.23
Now join the bottom sole with the side that you previously completed. To do this, type Join into the command line and press Enter. Then you need to select both sections and press enter.